Create a custom JWT auth server
Learn how to integrate your auth backend with our embedded wallets solution so you can onboard your users into web3 seamlessly.
This guide will show you how to create your own Auth Server that is compatible with the JWT auth strategy. By doing so, you can have full control over user authentication and data security. This allows you to ensure that your application meets specific compliance requirements while also providing a customized sign-in experience.
This guide is simplified for demonstration purposes and is not ready for production use. When modifying it for production, secure your endpoints and avoid hard-coding secrets or sensitive information. We recommend using environment variables and secret managers.
Setup
Create a new directory for your project and navigate to it in your CLI
mkdir jwt-auth-server
cd jwt-auth-server
Initialize a new Node.js application
npm init -y

yarn init -y
Install the necessary packages
npm install express jsonwebtoken
Generate RSA Key Pair:
To generate a private and a public key run
ssh-keygen -t rsa -b 2048 -m PEM -f keys/rsa.keyTo create the output file run
openssl rsa -in keys/rsa.key -pubout -outform PEM -out keys/rsa.key.pub
Convert Public Key to JSON Web Key Set (JWKS):
Display the public key:
cat keys/rsa.key.pubCopy the displayed public key.
Convert your public key to a JWK using an online JWK Creator tool. We recommend using JWK Creator by Russel Davies.
Paste the public key, set Key ID as
0(arbitrary string, must match when signing JWT), and then note down the generated JWK.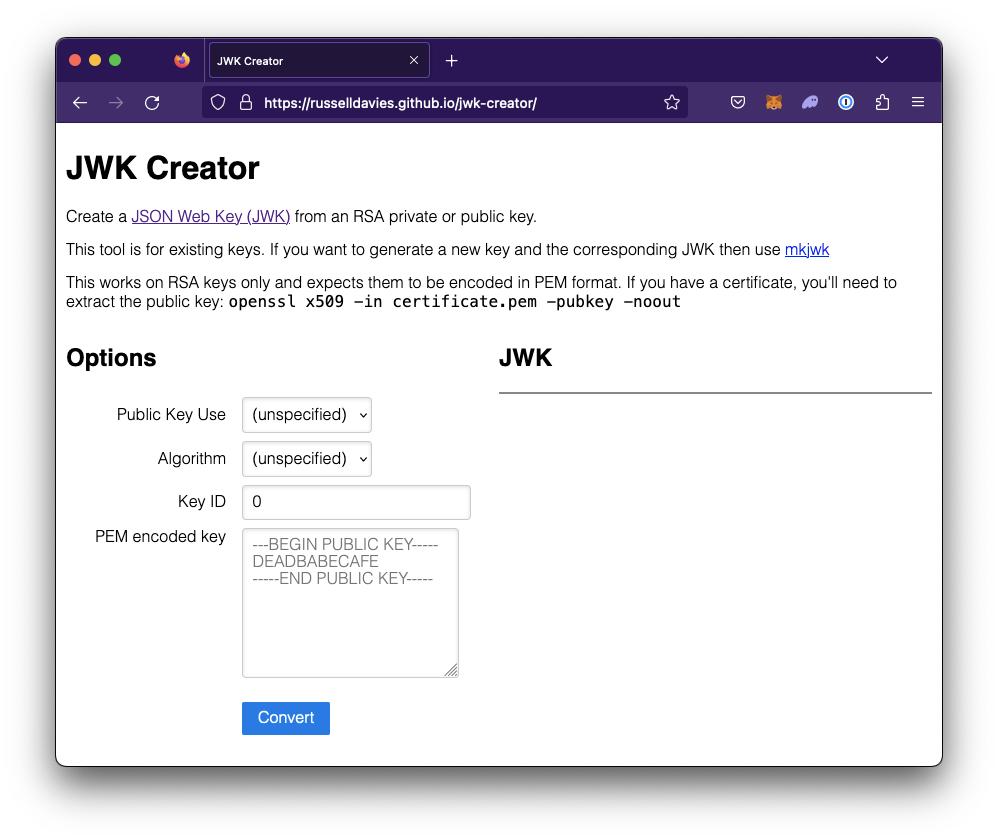
Create a
jwks.jsonin the project root and place the generated JWK in akeysarray.{
"keys": [
{
... JWK ...
}
]
}
Create the Server:
In the
jw-auth-serverdirectory, create a file at the root namedserver.jsand paste the following:const express = require("express");
const fs = require("fs");
const jwt = require("jsonwebtoken");
const app = express();
const PORT = process.env.PORT || 3000;
const PRIVATE_KEY = fs.readFileSync("./keys/rsa.key", "utf8");
const jwks = require("./jwks.json");
const users = [
{ id: 1, email: "user@example.com", password: "password123" },
];
app.use(express.json());
app.post("/login", (req, res) => {
const { email, password } = req.body;
const user = users.find(
(u) => u.email === email && u.password === password,
);
if (!user) return res.status(401).send({ message: "Invalid credentials" });
const payload = {
iss: "http://your-domain.com",
sub: user.id.toString(),
aud: "EpicGame",
email: user.email,
exp: Math.floor(Date.now() / 1000) + 3600,
};
const token = jwt.sign(payload, PRIVATE_KEY, {
algorithm: "RS256",
keyid: "0",
});
res.send({ token });
});
app.get("/.well-known/jwks.json", (req, res) => {
res.json(jwks);
});
app.listen(PORT, () => {
console.log(`Server started on port ${PORT}`);
});Replace
http://your-domain.comwith the actual domain for the application.
Test Locally
Start the server:
node server.jsTest login:
curl -X POST http://localhost:3000/login -H "Content-Type: application/json" -d '{"email": "user@example.com", "password": "password123"}'Test JWKS:
curl http://localhost:3000/.well-known/jwks.json
Deploy
To deploy the server, you can use use services such as Zeet or Docker.
Once deployed, replace http://localhost:3000 in the JWT payload with your actual domain
Integrate Embedded Wallets
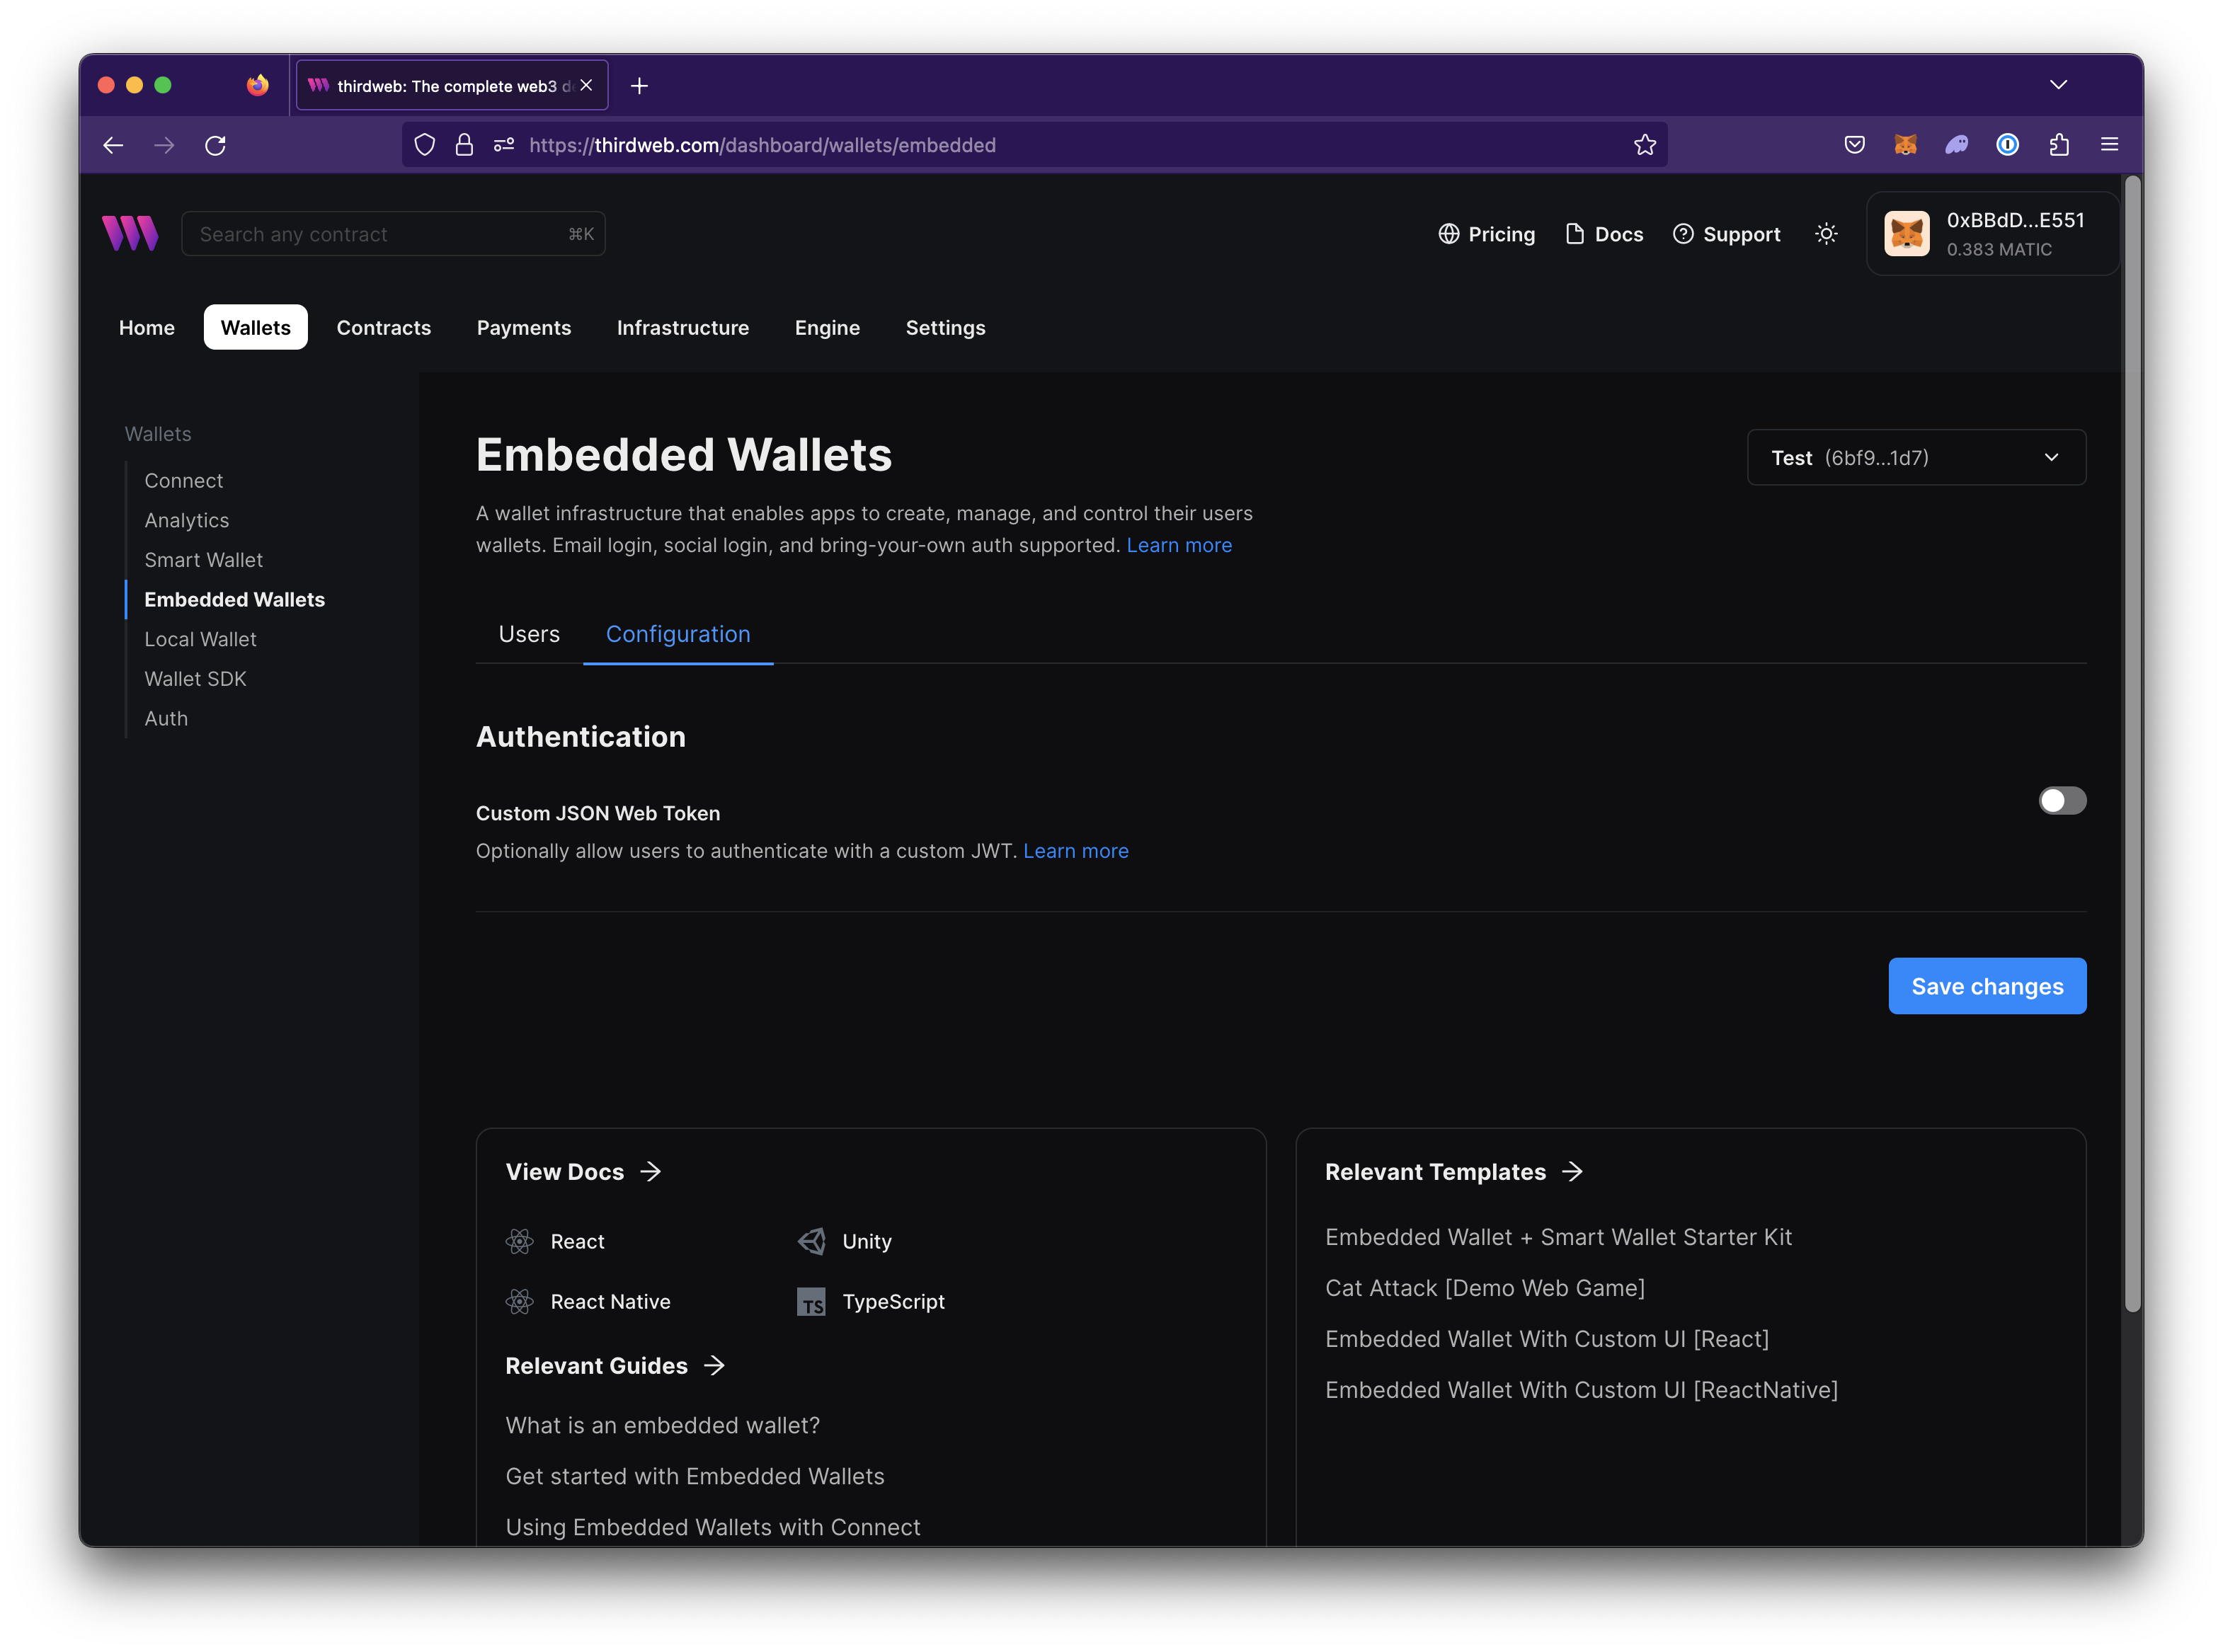
Navigate to Wallets > Embedded Wallets in the thirdweb dashboard.
Create a thirdweb API key if you don’t have one or select an existing key to use for this project. Learn more about API keys.

Allowlist domain or bundle ids in Access Restrictions.
Navigate to the Configuration view and enable Custom JSON Web Token
Set the JWKS URI to
your-domain/.well-known/jwks.jsonSet the AUD to
EpicGameor the value you set as the aud in theserver.jsfile.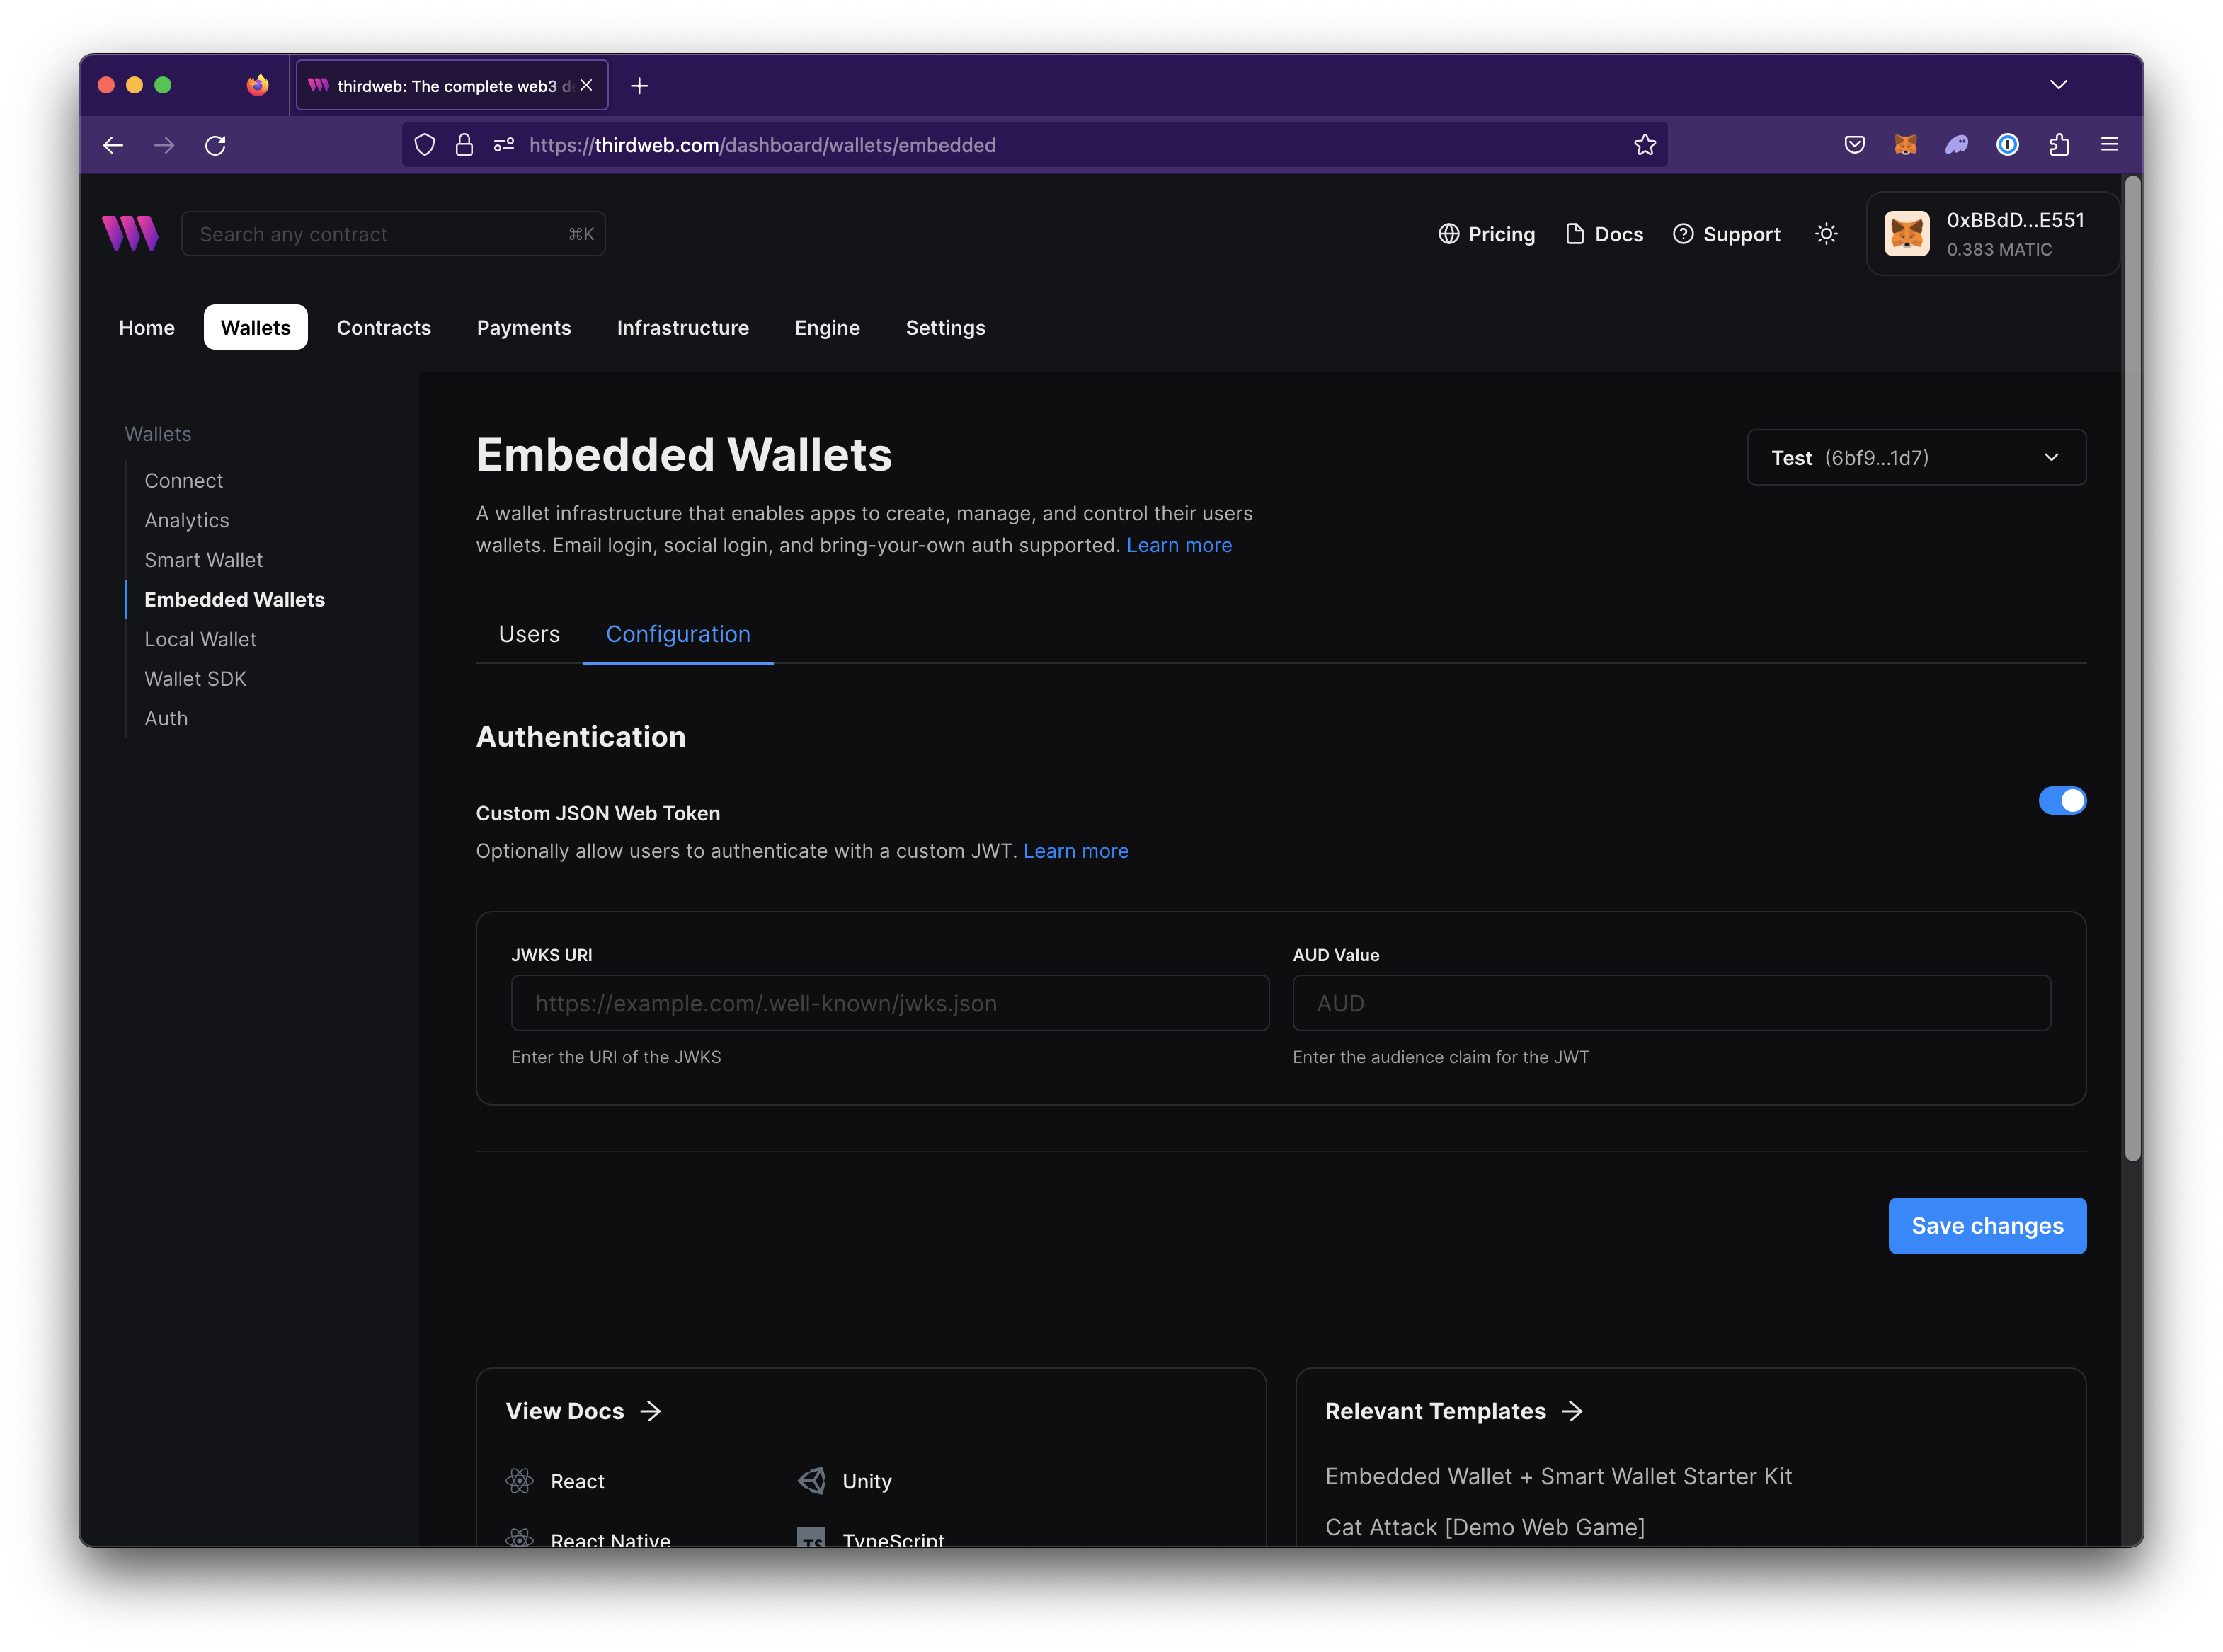
Copy the client ID.
In your preferred thirdweb client SDK, pass the JWT you retrieved from logging in to the server.
A persistent, cross-platform wallet is now created for your user.